The list of interesting modeling subjects is long. Somewhere near the top of that list for me have always been modern submarines, particularly US Navy nuclear subs. My friend Michael Smith also shares this interest, but in his case he prefers his models to not only look nice but to operate as well. By good fortune I happened to have a set of Greg Sharpe’s excellent 688 class plans drawn to 1/72 scale. We decided to pool our resources and build two models, a static one for me and an RC version for Michael.
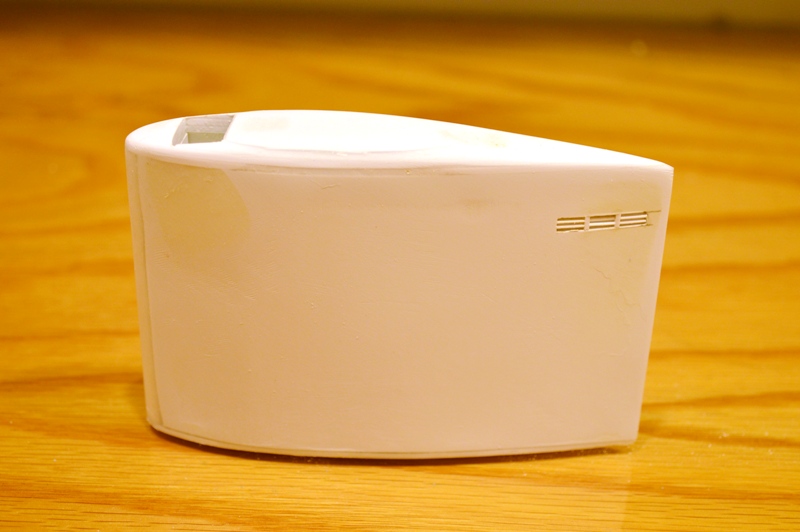
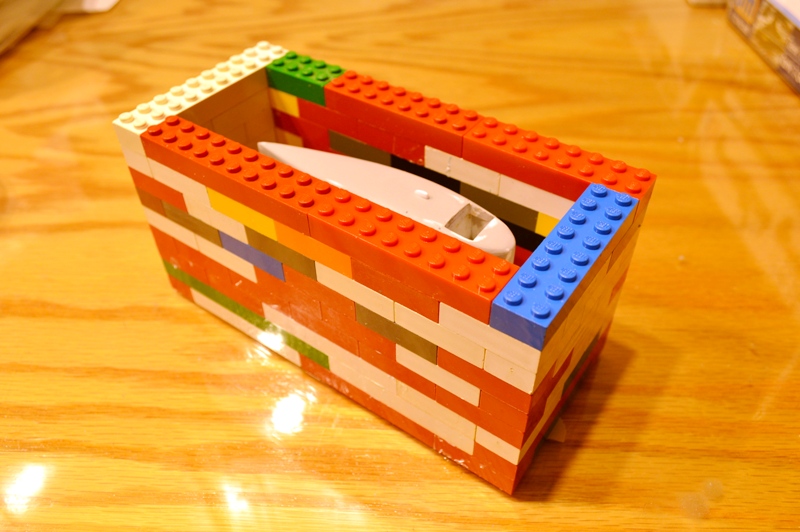
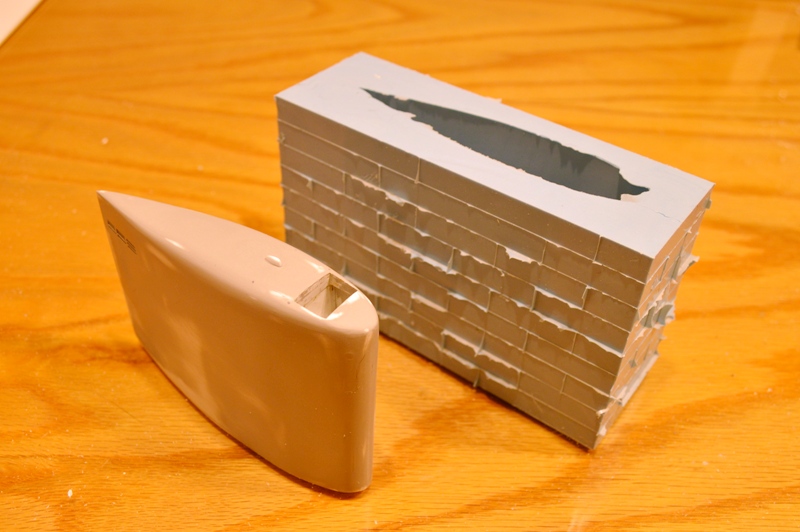
Work started with the sail. The plan view was traced onto paper and transferred to 0.060″ sheet. Four of these “airfoil” shapes were cut out, one for the base, and three laminated together to allow for shaping the contours of the top. Internal bracing is in place to define the sides for the 0.040″ sheet. A section of tube is used for the round leading edge.Here is the sail completely skinned and filed to shape. I used superglue to blend the pieces together and to fill any gaps. This works well, as any area which is not level still appears shiny after sanding. These areas are hit again with superglue and sanded down, this is repeated as many times as is necessary. The snorkel exhaust grill work at the top of the trailing edge was cut out before the side pieces were glued in place. The slats were made from 0.015″ strip.We will need enough copies of the sail and control planes to equip both models. This is the first step in the casting process. The sail master is being enclosed in an open rectangle made from Lego bricks. The bricks define the shape of the Room Temperature Vulcanizing (RTV) rubber mold.This is the bottom of the mold. Masking tape seals the mold to prevent leakage and also serves to anchor the master in place to prevent it shifting or floating while the liquid RTV is being poured around it.I use RTV and resin materials from Micro Mark for casting. The RTV is mixed and poured in over the top of the master. It is important to mix the RTV components thoroughly but gently to avoid entraining air bubbles. This is the cured mold in blue with the Lego bricks and masking tape removed and the original master in front of it. The mold is inverted, ready for the casting resin to be poured inside.Here is the first completed casting. The resin only has about five working minutes before it starts to set up, so with this large of a piece I had to work quickly. Usually any small air bubbles can be whisked away with a wire or rod, but this time I was worried about the resin setting up before the pour was finished so the snorkel exhaust will require some clean up. This piece took about 150ml of resin, easily the largest piece I have ever cast.
WHENEVER ANY FORM OF GOVERNMENT BECOMES DESTRUCTIVE OF THESE ENDS (LIFE,LIBERTY,AND THE PURSUIT OF HAPPINESS) IT IS THE RIGHT OF THE PEOPLE TO ALTER OR ABOLISH IT, AND TO INSTITUTE A NEW GOVERNMENT― Thomas Jefferson


Go Jeff, Go!
LikeLiked by 1 person
..master modeler at work ! Agree, subs make great model subjects, always wanted to add one to the shelf – so many models, so little time…
LikeLiked by 1 person