Supermarine Spitfire Vb of No. 40 Squadron SAAF Color Photographs

A short but excellent series of original color photographs featuring a Supermarine Spitfire Vb of No. 40 Squadron, South African Air Force.  These were taken in March 1943 while the squadron was operating from Gabe, Tunisia.  All feature WRD serial ER622.  No. 40 Squadron had just converted from the Hawker Hurricane in February, so these Spitfires had been in service for approximately one month.  Enjoy!

A beautiful aerial shot of WRD with WRC in the background.
A crop of the previous photo to show detail.
A similar perspective with the wingman in the distance. (IWM)
ER622 on the ground.
Interesting details of the pilots’ flight gear. Note the SAAF orange in place of the RAF red on the fin flash and roundel, as well as the gear down indicator on the wing.

Supermarine Spitfire Vb of No 417 Squadron RCAF Colour Photographs

A series of in-flight colour photographs of Spitfire Vbs of No 417 Squadron Royal Canadian Air Force over the Tunisian desert photographed in April, 1943.
A broader view of the previous photo. No 417 was known as the ‘City of Windsor” Squadron.
417 Squadron Spitfires warming up. The airfield was located along the coast near Ben Gardane, Tunisia, near the border with Libya.
Spitfires either being repaired or stripped for parts. Some interesting details for diorama inspiration. (IWM)
A fine study of desert pilot attire. Note the exhaust staining on the fuselage. (IWM)
Flight Lieutenant W. H. Pentland is helped into his harness by ground crew. He was latter assigned to No 440 Squadron flying Typhoons over Europe. He was killed by flak on 07OCT44 while attacking a train.
Officers studying a map on the tailgate of a truck.
Lunch is served on the veranda. Note the variety of uniform items.

Sword (Mostly) Supermarine Spitfire Mk.V in 1/72 Scale

For the last finished model post of 2023, a bit of whimsy. This Spitfire was cobbled together from spare parts and a little scratchbuilding.  The main fuselage and wing components are from the Sword Seafire five-kit boxing, the remaining parts are left-overs from Eduard and Airfix Spitfires, any bits still missing were scratchbuilt.  Decals are also from the spares box, with the exceptions of the code letters which are from the Xtradecal sheet.  Wing Commanders were permitted to use their own initials as code letters on their personal aircraft, so I had a little fun with that and substituted my own initials.

Sword Supermarine Seafire Build in 1/72 Scale Part II

One of the Seafires with the main round of sanding in the (sanding) dusts of history, ready for priming. Canopies were masked the traditional way with Tamiya tape, I find it hard to justify the prices of some mask sets for simple canopies. The bottom edges of the clear parts were blackened with a Sharpie, and the canopies fixed in place with superglue.
This is the underside of the spare parts Spitfire. Horizontal tails, cannon, exhausts, and landing gear are Eduard parts. The underside of the nose and smaller cooler are from Airfix. White parts are scratched from Evergreen stock.
As usual for my builds, I primed everything with Mr. Surfacer 1000 to check for flaws. With the prolonged sanding process it was no surprise to find several areas which needed more work. Perfect Plastic Putty helps with the canopy seams. After the sanding and restoration of panel lines, I hit the models with another shot of Mr. Surfacer to check again.
Once everything has been smoothed out it’s time to proceed to the painting stage. Yay! I like the painting stage. I have masked off the hard color separation on the undersides with Tamiya tape, and laid out the camouflage pattern with poster putty. If you look closely at the starboard wing you can see where a circular mask is in place to represent a roundel which has been painted over.
Two of the Seafires were painted in the post-war scheme of Extra Dark Sea Gray over Sky. The Gray tended to take on a blue hue which the Mr. Color shade lacked, so I mixed it with USN Intermediate Blue.
The Temperate Sea Scheme consisted of Dark Slate Gray and Extra Dark Sea Gray over Sky. The Dark Slate Gray is another mix, this time with Olive Drab. A darker mix was applied to the starboard wing to represent fresh paint for a painted-out roundel.
The Sword decal sheet is printed by Techmod, so there were no issues with the quality of the markings. I used the kit decals on four of the five Seafires. This is the exception, these markings are from Xtradecal’s Seafire sheet 72135.
I had some fun with the markings on the spare parts Spitfire. The decals on this one are from the spares box like the rest of the components, and most of those are from Eduard. RAF Wing Commanders were allowed to use their initials as the letter codes for their aircraft, so I sourced my own initials from Xtradecals RAF Sky Code Letters sheet 72189.
Most of the smaller parts had already been glued in place before the models received a panel line wash and flat coat. I have been putting more and more parts in place before painting whenever possible to ensure a strong bond. It’s a balance between ease of painting and the risk of breaking off parts.
And here’s the finished batch! You have to love the lines of the Spitfire, and the navalized versions lose none of the appeal in my book. The Sword kits take a lot of extra time to finish due to the disproportionate amount of parts clean-up required and fit issues. If you enjoy sanding and are good at filling seams they can be whipped into shape, but Tamagawa kits they are not. They are some extra work to finish but I like the way they turned out.

Part I here: https://inchhighguy.wordpress.com/2023/12/01/sword-supermarine-seafire-build-in-1-72-scale-part-i/

Sword Supermarine Seafire Build in 1/72 Scale Part I

Sword has packaged their Seafire line together, a total of five kits in one box. The kits were originally issued in 2011 – 2012, with this one you get a “batch in a box”, a good place to start if you want to build a series of Seafires.
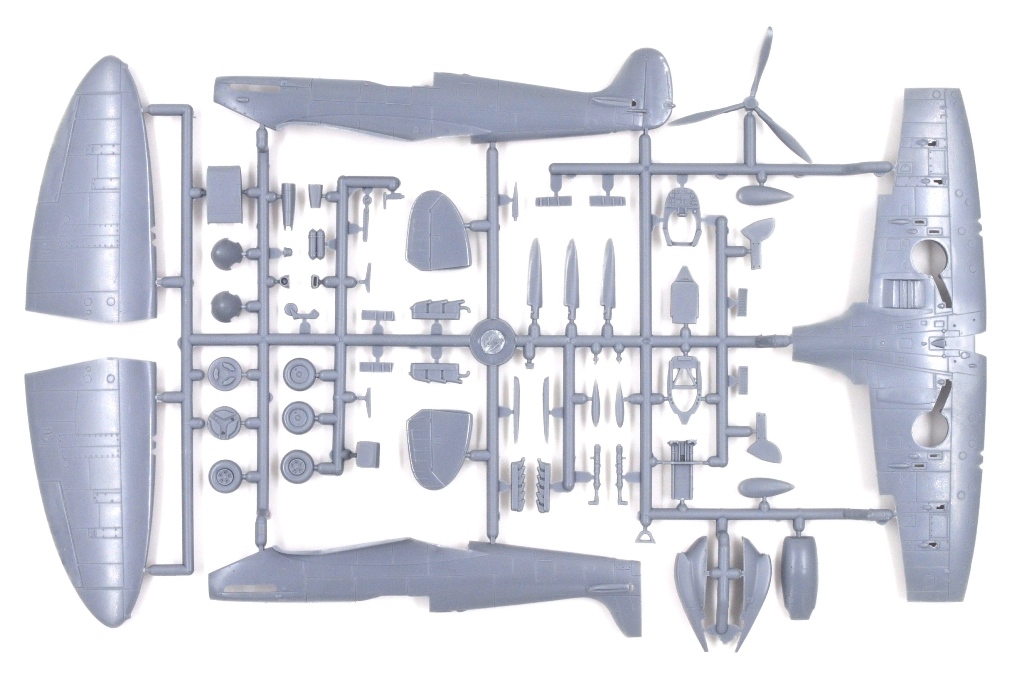
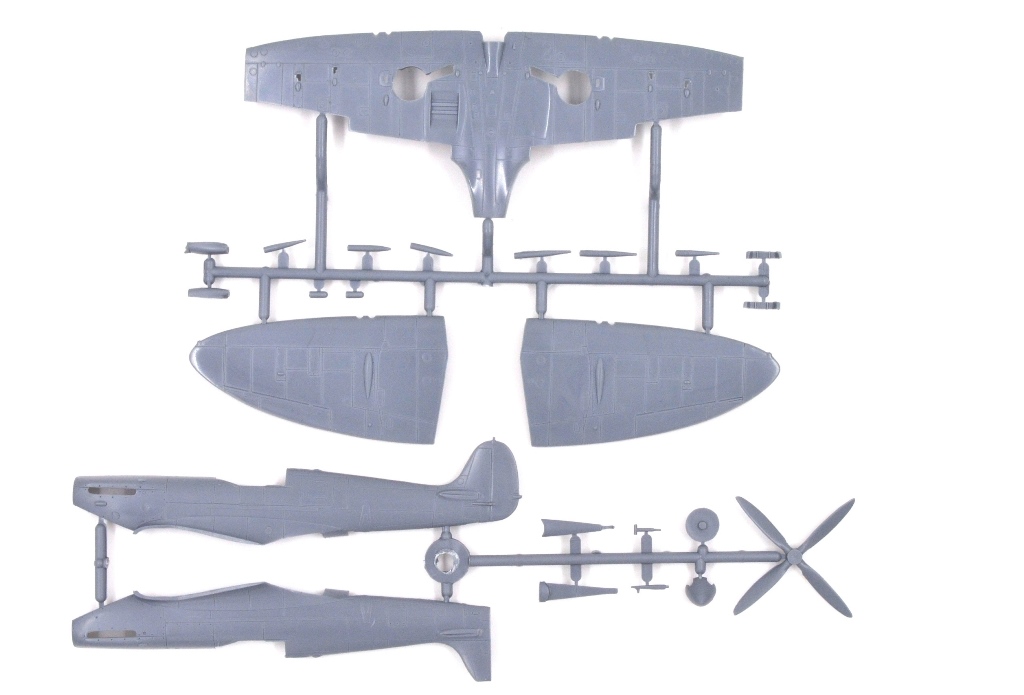
Inside the individual kits are each packaged in their own zip-lock bags. These are limited-run tools with no locating pins and a prominent mold seam which will have to be eliminated from each part. Plastic is soft. As you can see, there are parts provided for a variety of options. This sprue is common with Sword’s Spitfire, including the main fuselage & wing components, so modelers with the right decals could also make standard Spitfire marks from this boxing if desired.
The Seafire-specific parts are provided on supplementary sprues for each mark. This accounts for the many subtle detail changes for the Seafire, and will leave several Spitfire components for the spares box when done.
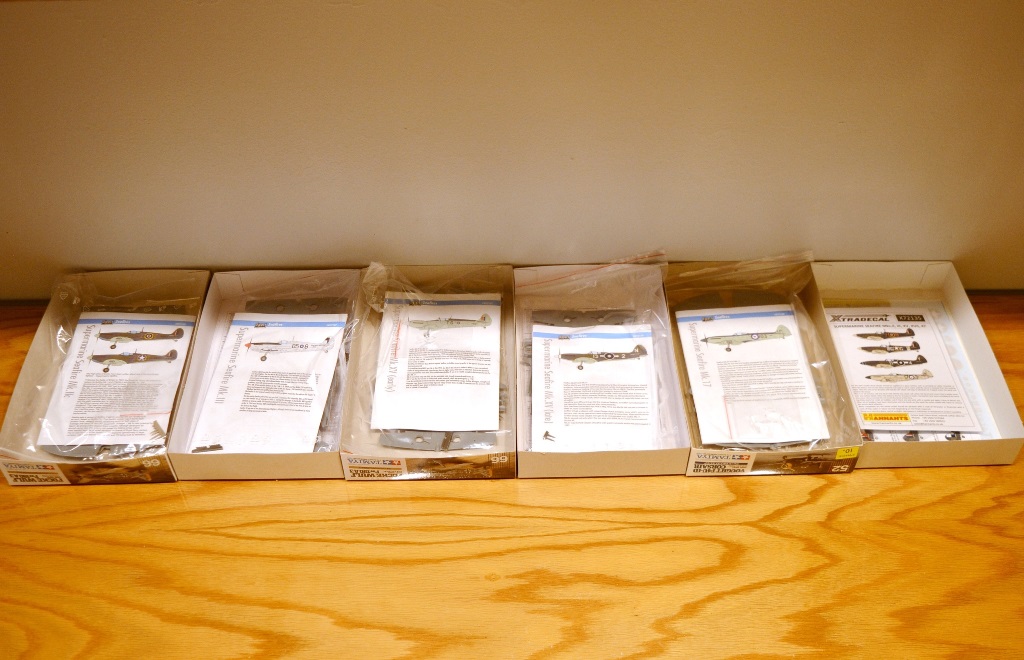
I’m often asked how I keep things organized during a batch build, so here’s a shot of the bench at the beginning of the build. I always start with a clean bench. I save spare top-opening boxes to use as trays, and each box has the parts and instructions for each subject. The spare box on the right holds any aftermarket and is used to collect unused parts until the build is over. The subjects are arranged chronologically, with the earlier versions to the left.
I was intrigued by the extra Spitfire components Sword provides in these kits, which included several fuselages and a complete set of wings, among several smaller components. I already have left over parts from both Airfix and Eduard Spitfires from previous builds, so I decided to see if it would be possible to cobble together an extra Spitfire from the spares. Here is a photo of the Sword cockpit on top, the surplus Spitfire on the bottom with a mix of parts from the spares box and a little scratchbuilding.
A painted cockpit ready to close up, with a set of Eduard PE belts added.
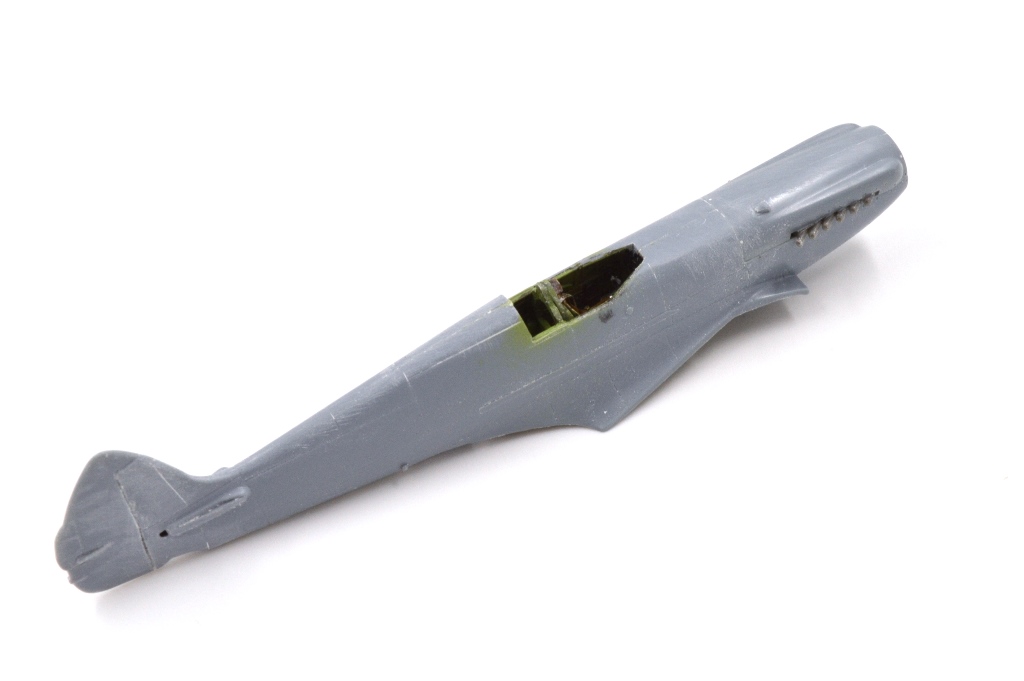
Sometimes it is easier to sand subassemblies separately, and this is the case with the fuselages on this build. I generally don’t enjoy sanding, and the Sword kits require the removal of mold seams, test fitting, and sanding for each component.
Fit of the wings left a lot to be desired and will require some extra effort to smooth out. Assembly was a low point for this batch, and it required considerably more time than usual to get past the sanding stage. This view provides a good look at the resin exhausts though, which are well detailed and sharply cast.
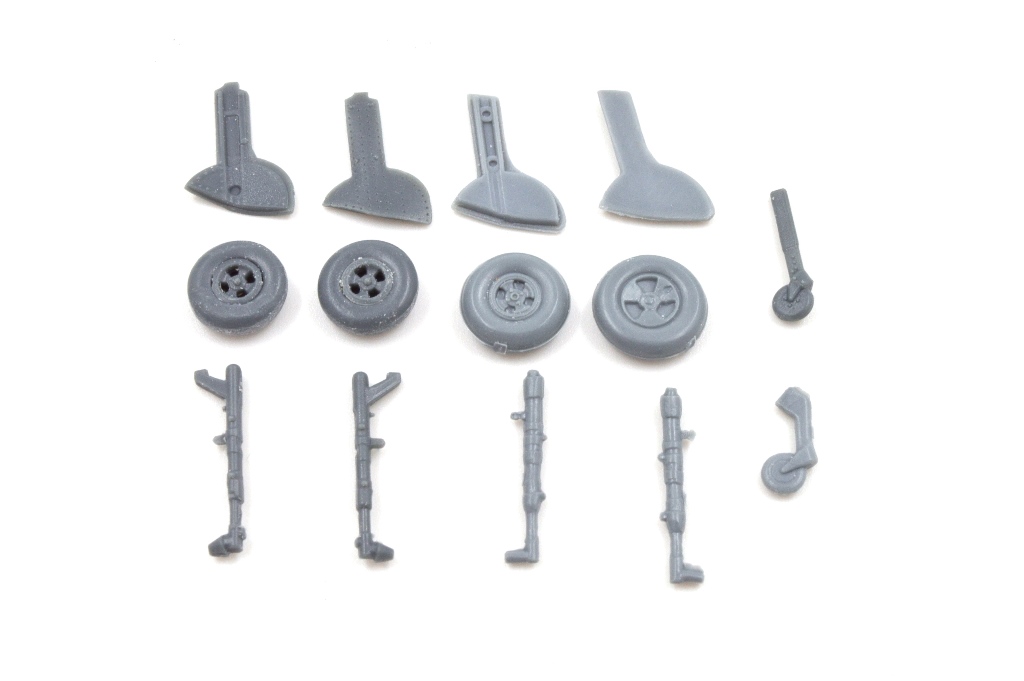
Since I was already raiding the spares box here is a comparison of the Eduard landing gear components with those from Sword. The Eduard parts are the darker plastic, they are better detailed and require little clean up. They are also slightly smaller. I used the Eduard parts where I could, partially due to sanding fatigue.
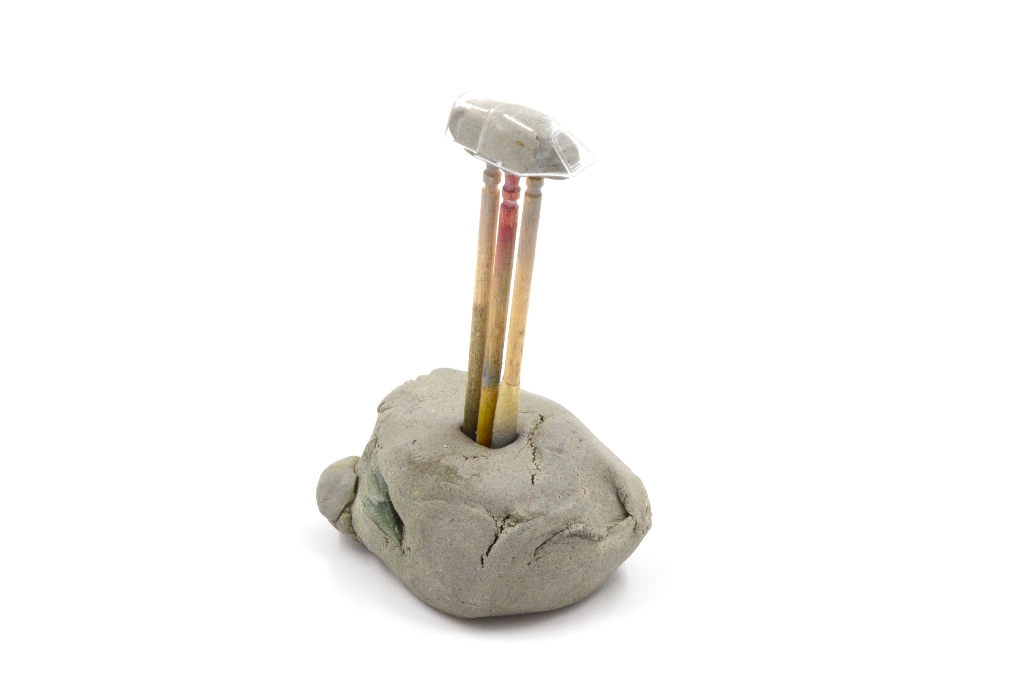
I needed another canopy for the extra Spitfire, and there were none left in the spares box or any of the Falcon sets I had on hand. I plunge molded one using a Sword canopy as a master, here is the set up ready to take the plunge.

Part II here: https://inchhighguy.wordpress.com/2023/12/08/sword-supermarine-seafire-build-in-1-72-scale-part-ii/