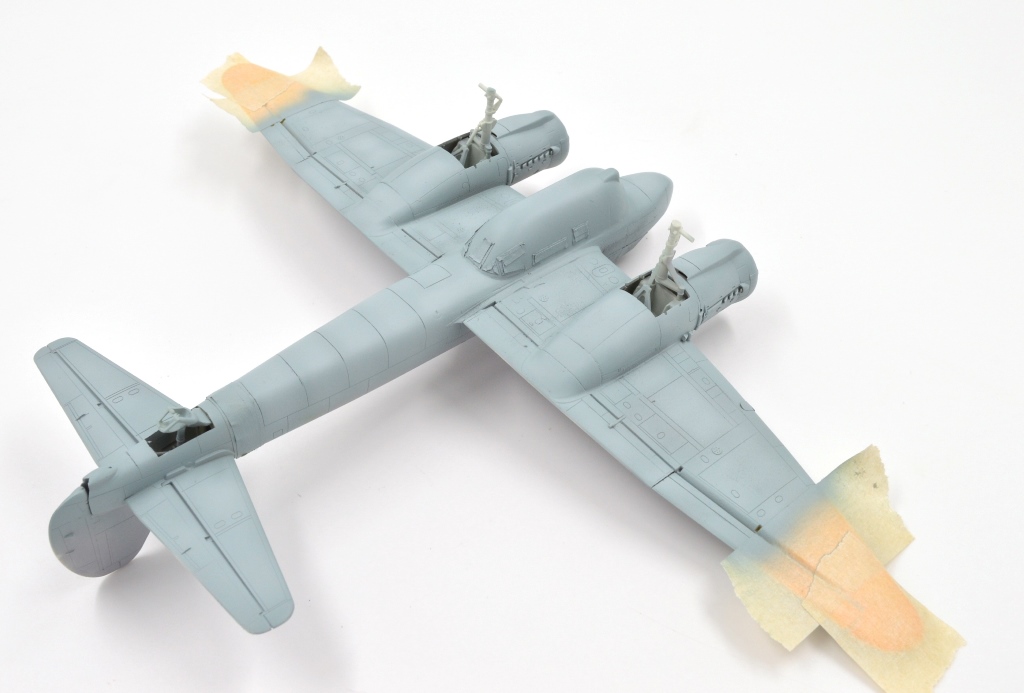


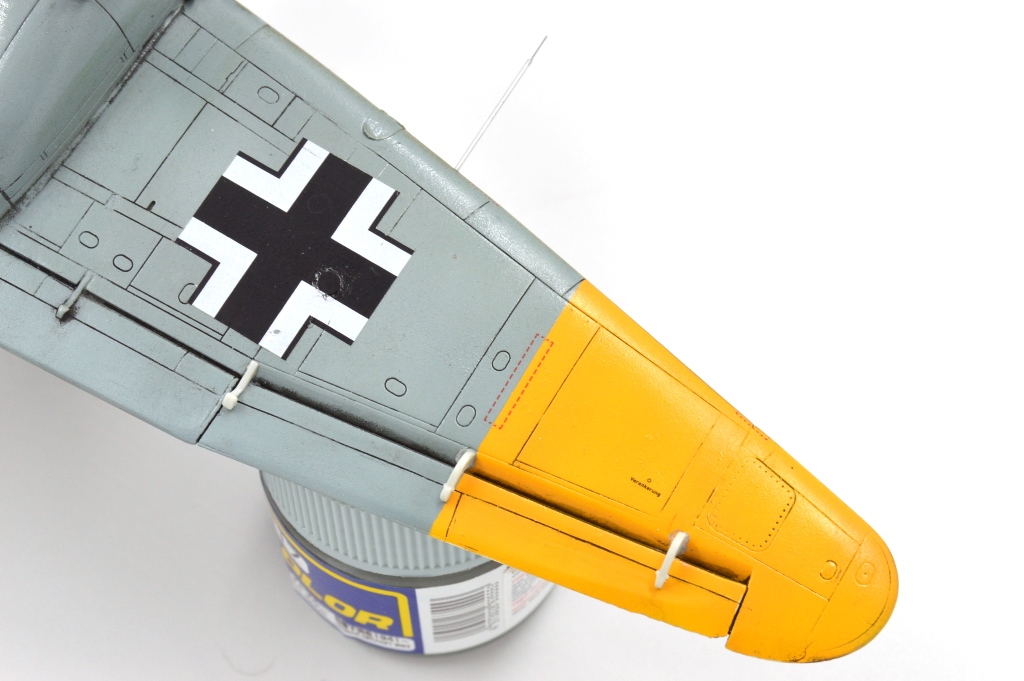


More completed pictures here: https://inchhighguy.wordpress.com/2020/11/24/revell-junkers-ju-88p-1-in-1-72-scale/
Scale Modeling and Military History
More completed pictures here: https://inchhighguy.wordpress.com/2020/11/24/revell-junkers-ju-88p-1-in-1-72-scale/
Scale models, where they come from, and people who make them
Scale diorama tips and ideas
Let's build, and build again even if you won't build everything you have bought
A futile fight against entropy or 'Every man should have a hobby'? Either way it is a blog on tabletop wargames, board games and megagames
World War II with Scale Models
Illustrating Stories, Painting Miniatures, Reviewing Realms.
This is my ad free non-profit blog of my research notes on military history since April 2018.
Moving with the tides of history
Building and improving scale models
WHENEVER ANY FORM OF GOVERNMENT BECOMES DESTRUCTIVE OF THESE ENDS (LIFE,LIBERTY,AND THE PURSUIT OF HAPPINESS) IT IS THE RIGHT OF THE PEOPLE TO ALTER OR ABOLISH IT, AND TO INSTITUTE A NEW GOVERNMENT― Thomas Jefferson
Let's build and build again
This WordPress.com site is Pacific War era information
Scale Modeling and Military History
The best in WWII aviation history
Scale Modeling and Military History
Scale models from the sunny side of the Alps.
Scale Modeling and Military History
Scale Modeling and Military History
Scale Modeling and Military History
Scale Modeling and Military History
Scale Modeling and Military History
Scale Modeling and Military History
Scale Modeling and Military History
A blog about Modeling and life in general
